If you want to try your hand at archery without spending much money, or you want a bow just for training at low draw weight, or you just want to mess around with a bow in your backyard, a PVC bow is easy to make for about $10. It won't be professional grade, but it will probably be at least as good as the bows used by neolithic hunters, and they did all right for themselves.
Almost all the parts can be found at a hardware store:
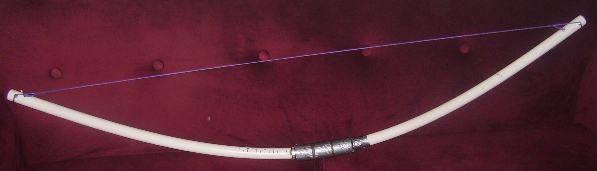
Make the bow -- it's just PVC pipe with string holders
 Bore holes through the PVC pipe at each end, slide a bolt through, and fasten with a nut, leaving maybe a quarter inch of play on either side. The bolts are there to hold the string, so make sure the bolts are parallel. You now have a bow. You could string it and start shooting at this point if you wanted, but the rest of these instructions will make it
 awesome cool at least a little bit better.
Attach a handle -- duct tape + insulation
We want to put the handle (the 6" insulation) on the bow just a little above its center of gravity, so that, when you're holding the bow, it has a slight tendency to right itself, but not so strong that you can't tilt the bow easily. So balance the bow on your finger to find where the center of gravity is, and duct tape the insulation so that, when you hold the bow, you will be holding it an inch or two above the center of gravity. Attach the insulation to the bow at the bottom end, but not the top end. (The choice of top and bottom is arbitrary.)
Add an arrow rest -- clamp an angle bracket to the pipe
 Use the hose clamp to attach the corner brace / angle bracket to the bow, immediately above the handle. This will serve as your arrow rest, sticking out to the left.
Wrap a few layers of duct tape around the angle bracket so that your arrows won't be sliding against bare metal.
Draw a sight
Use a ruler and Sharpie marker to draw a crude sight on the bow: mark quarter inch gradations up the bow for 6 inches or so.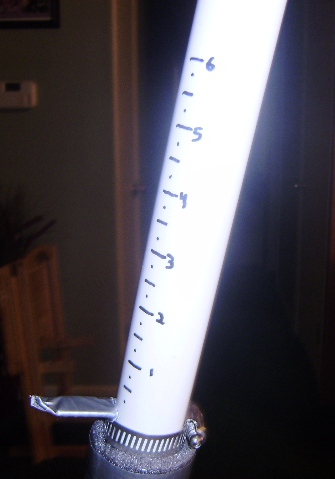
You are now ready to use your bow.
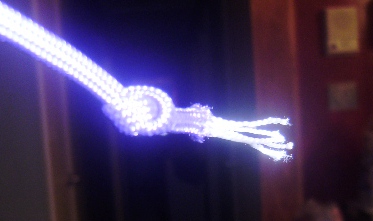
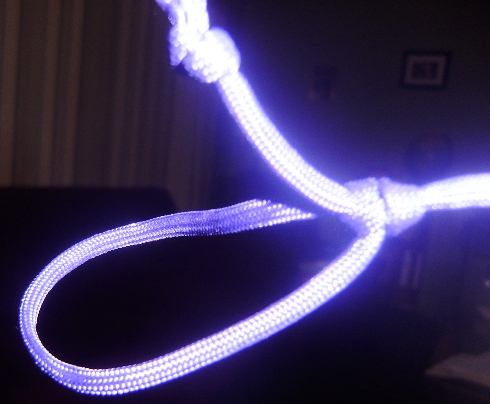
 String the bow so that the string rests on the bolt. The traditional step-through technique will do. As for arrows, I find that Easton Carbon Raider 400s work just fine.
General Tips
Get a dozen arrows, all of identical make. It may take five or six shots until you get into the groove of this improvement or that, and you don't want to break your rhythm by stopping to retrieve arrows. Which of course implies that you'll want to be using a bow you can comfortably draw again and again without fatigue.
Do everything this video says to do; it's very helpful.
I depart from that video when it comes to the release, though: the video says to have your hand end up past your neck, but I say, try not to move it at all. The less I move my hand, the more consistent my shots are; my best shots invariably coincide with my hand staying in place even after the shot. I have taken to touching my thumb to my neck, and keeping it there through the course of the shot. I get the best results when I try to work my release like the shutter on a camera: move fingers quickly to an open position and then immediately pull them back. It works for me.
I tend to jerk the bow during the shot, and there are the steps that work for me:
Don't let anxiety mess you up; work on good form, but relax, and don't worry so much about whether you're on target. Develop consistent good form first, and consistently well-aimed shots will come afterwards.
Find a comfortable anchor point; comfort (i.e. consistency) is far more important than pulling the string back as far as you can.